
The year is coming to an end, and wow, what a strange year. Time flew, yet the world stood still in many ways. First of all, I hope you are well and that you managed to get through 2020 without too many bruises. In this week's post, I will share more context on how I migrated the SaaS Manual website to AWS. And here's the news: It is done 🎉 Before diving in though, let me share what's new:
Generator updates: I added small updates to the site generator which we built in the last post. You can now write draft posts without those being published to the website. This was a request by Luca Cipriani.
Discord community: This is not exactly new, but since there is such an awesome community happening, I am sharing it again: Join the SaaS Manual community here.
If you haven't signed up for SaaS Manual yet, you can do so below:
I launched SaaS Manual on Notion, because it was the fastest way I could validate the idea. After the launch and more than 500 signups to the email list, I decided to invest some time into building the new SaaS Manual website, the foundation for this course. Let me dive into some of the details of what I did to make this happen:
There are many ways you can host a new website. You might decide to use a cloud platform for serverless deployment like Vercel or Netlify, you might host on a CMS like Wordpress or Ghost. Instead of building on top of these platforms, I will show you how to do this on AWS. This means that we will go a little bit lower level than these platforms. This because I would love to show you what happens under the hood for many of the SaaS products you are using. Let's dive into the infrastructure setup.
The current SaaS Manual website is still pretty simple, there is a landing page and there are a bunch of articles. We have an email list signup form, some metrics and that is pretty much all there is to it at this point.
This is the perfect time to run you through the "journey" the code makes from being written to being visible to a visitor on SaaS Manual.
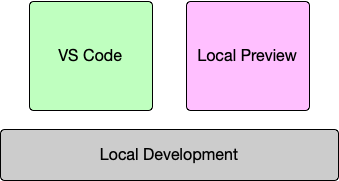
I am developing SaaS Manual on my laptop. This means that I can have a fast iteration cycle between making changes and verifying that those changes are working correctly. As we are increasingly moving into the cloud you can also set up your entire development environment in the cloud. If you are curious about that, I can recommend checking out some of the cloud environments, like Cloud9. For my requirements, my laptop works really well.
Usually, I set up one directory for all repositories related to one project. In my case, the directory is ~/dev/saasmanual.
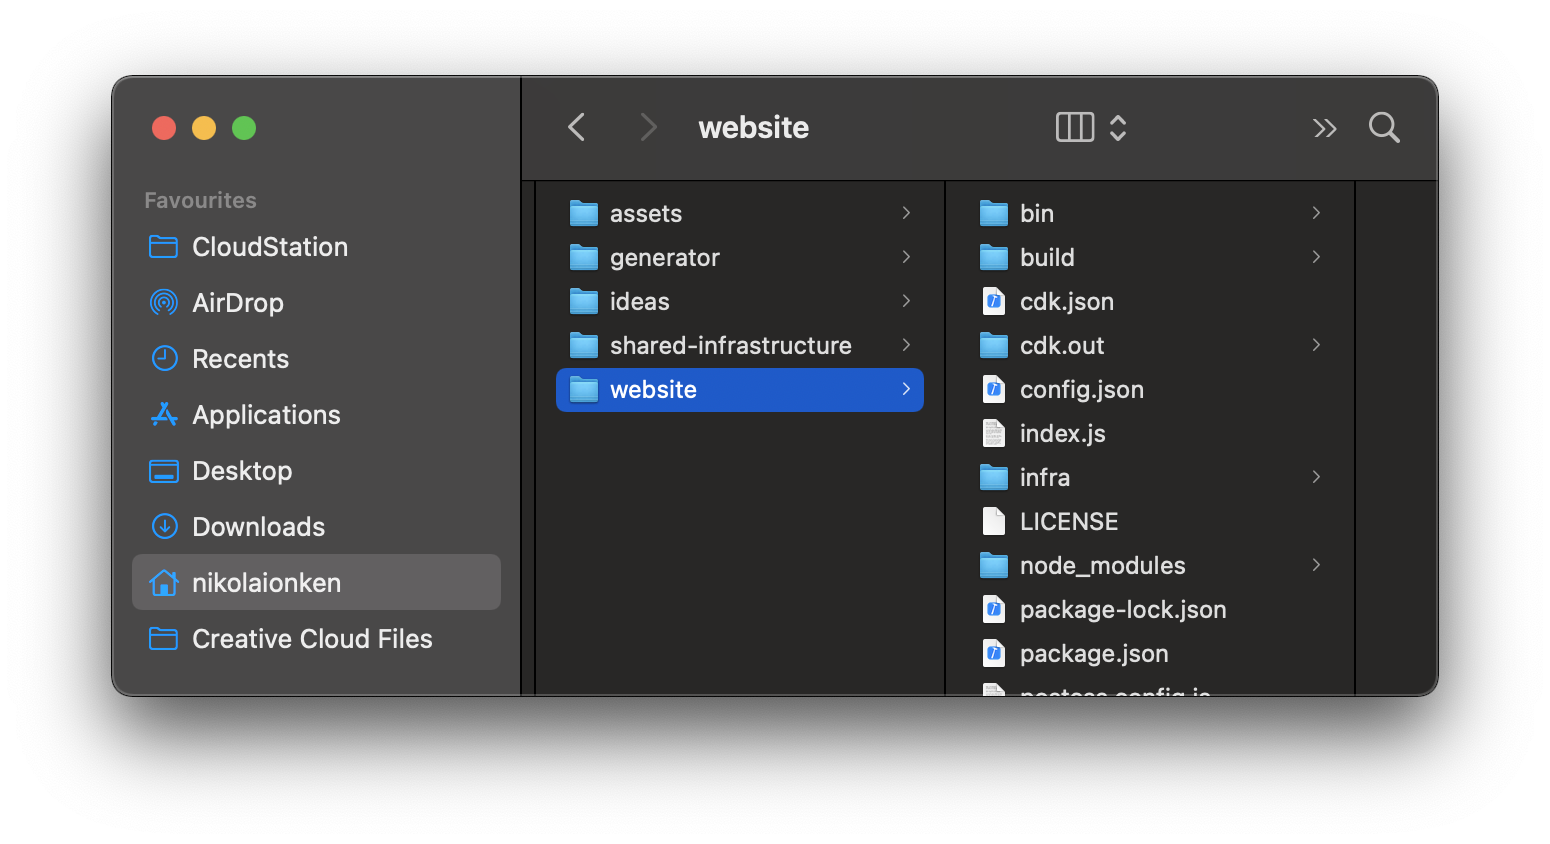
In there, you see I cloned a few GitHub repositories. The website repo being the selected one. I usually open a terminal session with a few terminals running. In this case, the main session is the one that I use to start the local process which runs a lightweight server on my machine. Let's try this out, simply run the following commands in a new terminal session:
git clone https://github.com/saasmanual/website.git
cd website
npm install
npm run dev
You should see a similar terminal output as the one below:
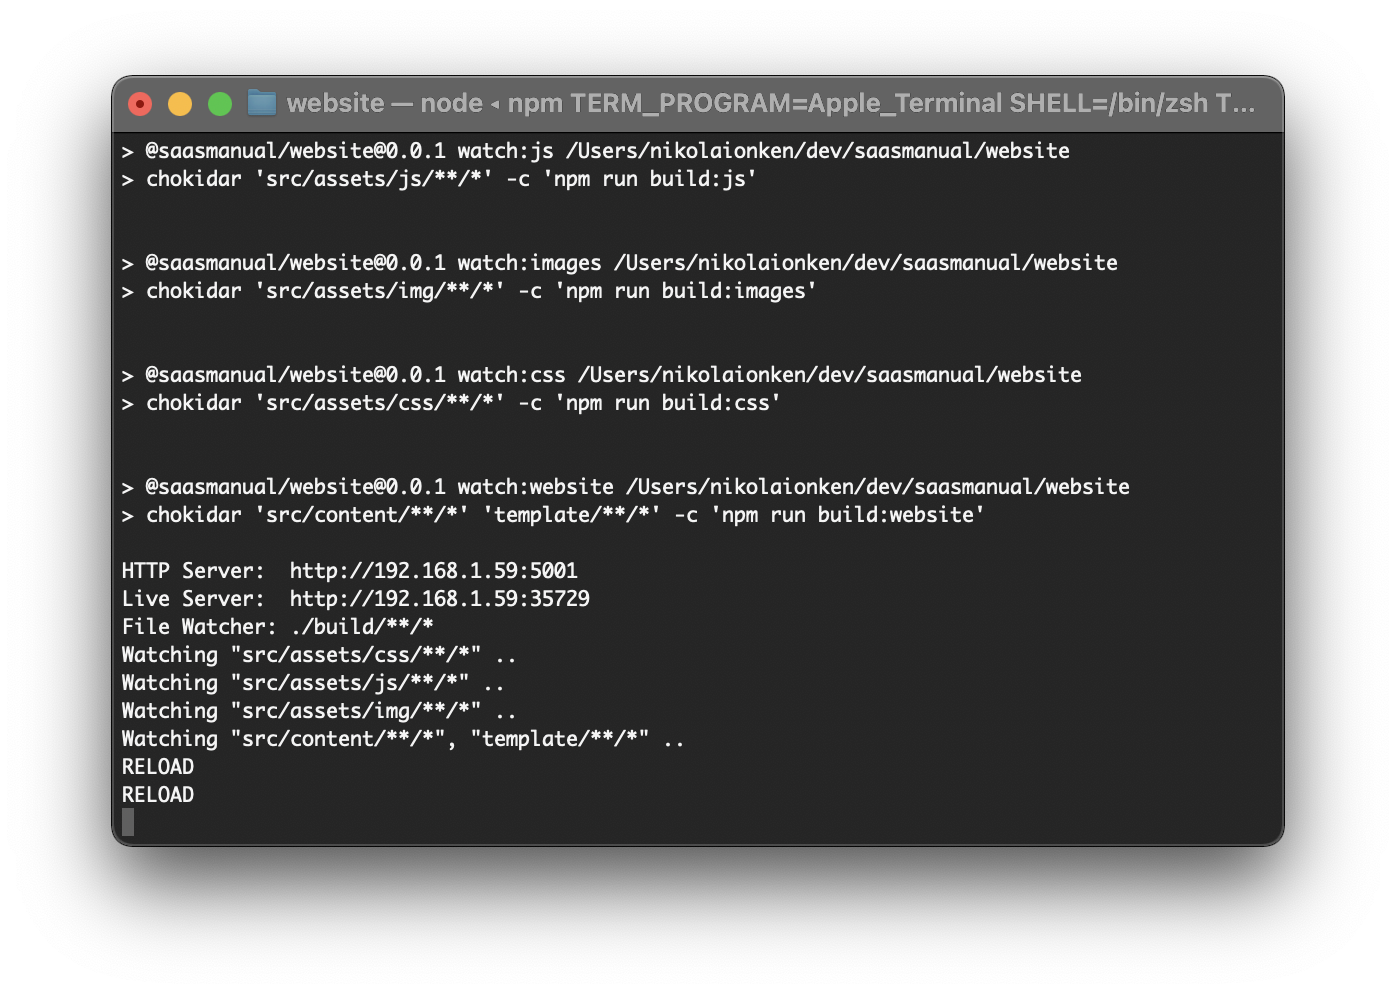
If that is the case, you can now preview the website by accessing http://localhost:5001 🎉.
Now when we make changes, like writing a new post, I eventually commit the changes to Git and push them to GitHub.
And this is where a lot of the magic happens: When I push a change to GitHub, on the main branch, CodePipeline, an AWS service that helps you automate deployments, picks up the change. It triggers another service, CodeBuild to create what is called a deployment artifact. CodeBuild clones the repository, runs a few commands like npm ci and npm run build. CodeBuild then creates a ZIP and uploads the files which just were built to S3. Now CodePipeline can for instance deploy this artifact to a public S3 bucket. As the last step, CodePipeline does exactly this, it deploys the artifact to S3. Now our latest version of SaaS Manual is live.
I kept the flow deliberately high level because it is important to first understand the concept of a pipeline and the different steps within.
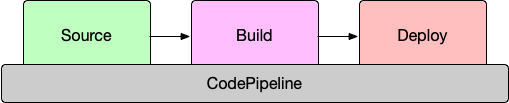
A pipeline is basically an orchestration software that you can "program". You can say things like: First, I'd like you to check out this repository. When this succeeds, please run a few tests. You also can tell it that a human needs to approve something. Then after everything succeeded, the pipeline instructs a deployment mechanism to deploy your code. To simplify, a pipeline is a step by step instruction set of actions on an input, usually code, producing some output, usually a deployment, at the end of the process.
You might wonder, that's cool, but how do I set this up myself? This is where the AWS Cloud Development Kit (CDK) comes into play. The CDK allows you to define infrastructure as code (IaC). This is an important piece of the puzzle!
In the past, you would log into the AWS console, and press a bunch of buttons, setting up the right tools... hopefully. It would be impossible to recreate the same environment without huge pain. When your service grew, you might have moved to CloudFormation to write complicated JSON or YAML files. So that you at least would be able to check your YAML files into a repo and apply source control. This still is quite painful if you ask me. CDK to the rescue. Now you can do cool stuff like this:
    const websiteAssets = new Bucket(this, `${id}-website-production-assets`, {
      accessControl: BucketAccessControl.PUBLIC_READ,
      bucketName: `saas-manual-website-prod-static-assets`,
      publicReadAccess: true,
      websiteIndexDocument: 'index.html',
      websiteErrorDocument: '404/index.html',
      websiteRoutingRules: redirectRules
    });
I won't even explain what this does, because I am willing to bet that you can read this and understand what it does. With the CDK, you are now able to define your entire infrastructure and your deployment and testing infrastructure through code. This is how I did it:
Everything which I expect to be shared between services lives in a shared infrastructure repository.
This includes the Route53 setup for instance. Imagine at some point there will be a SaaS Manual API next to the website. Both API and website probably will use the same Route53 setup. That is why I have a dedicated setup for this. Here is how you set up a new hosted zone and a certificate using the CDK, it is basically awesome:
    const zone = new PublicHostedZone(this, 'hosted-zone', {
      zoneName: domainName
    });

    new DnsValidatedCertificate(this, 'certificate', {
      domainName,
      subjectAlternativeNames: [certificateAlternativeNames],
      hostedZone: zone
    });
Have a look at the entire repository, maybe start from here.
Everything specific to the SaaS Manual website lives in the website repository. The required infrastructure for the website is located in the infra folder. And the source for the website itself in the src directory. Here the interesting part is the setup of the pipeline which I described earlier. The CDK has a "construct" that allows you to set up a pipeline with just a few lines of code.
    const pipeline = new CdkPipeline(this, 'Website', {
      pipelineName: 'Website',
      cloudAssemblyArtifact,

      sourceAction: new GitHubSourceAction({
        actionName: 'GitHub',
        owner,
        repo: name,
        oauthToken: SecretValue.secretsManager(secretArn, {
          jsonField: 'github-token'
        }),
        output: sourceArtifact,
        branch: branch || 'master',
        trigger: GitHubTrigger.WEBHOOK
      }),

      synthAction: SimpleSynthAction.standardNpmSynth({
        sourceArtifact,
        cloudAssemblyArtifact,
        buildCommand: 'npm run build',
      }),
    });
A pipeline has different stages, often you would have a "staging" stage where you can test your deployment. If you have a large service you might have stages based on the regions your service is available in. SaaS Manual is a small site, and we just run in one region, anything more would be overkill. So we simply add one stage to the pipeline:
    const application = new Application(this, 'Website-Production', {
      stageName: 'Production',
      description: 'Website application stack running in us-east-1.',
      env: {
        region: 'us-east-1'
      }
    });

    const stage = pipeline.addApplicationStage(application);
The Application is the stack where you define the infrastructure for your application. In the case of SaaS Manual, this is the S3 bucket to host the static content and the CloudFront distribution. Have a look here if you want to dive into this in more detail.
This wraps up the infrastructure part of the new SaaS Manual website, lets have a look at UX and layout.
Now that we had the infrastructure setup and that we could deploy a static site to AWS, it was time to do some styling and make the new site look good.
As I described in a previous post, I am using a very basic site generator to generate HTML pages based on Markdown content. So all I had to do is style the HTML templates. I am using a CSS toolkit called Tailwind CSS. I love Tailwind, because it allows me to move fast, and it is fairly simple to learn. I also am using Tailwind UI. I still had a license for another project.
I won't dive into the details on how to use Tailwind in this post because the Tailwind CSS docs are amazing. Let me highlight instead how I am creating the CSS assets as part of the pipeline execution:
In the package.json I have a build:css script which looks as follows:
"build:css": "postcss ./src/assets/css/style.css -c postcss.config.js -o build/assets/css/layout.css",
I am using a tool called PostCSS to do the processing of the CSS files. PostCSS supports plugins, such as a TailwindCSS plugin. It also allows you to transform certain CSS rules and apply vendor prefixes to those. The important piece of this build step is the fact that the generated CSS ends up in the ./build directory. This directory gets uploaded to S3 as part of the pipeline setup.
Finally, there were a few things I wanted to be able to do, which were not natively supported in Markdown. The site generator I built is using a powerful Markdown processor called remark. Remark allows you to write custom plugins.
Here is the current list of plugins I built:
On the landing page, you see a tiled list of topics which SaaS Manual aims to cover over time. In Markdown you can write plain HTML but that seemed like a maintenance nightmare. Instead, I wrote a simple plugin that renders this TOC on any page where I would use the "TOC directive": ::toc. If you are curious about how this plugin works, have a look here.
On the landing page, right at the top, there is a floating image. There are a few hacks you could apply to make this work in Markdown, but as I got a hang of writing simple plugins, I just wrote one 😅. Check it out here.
Iframes are not natively supported in Markdown. Since I am using Mailerlite for the email list, I needed a way to embed the signup form into the site. Similarly how I did on Notion. Here is the iframe plugin I wrote.
This was not all, hah, but instead of diving into each plugin, I recommend diving into the ./src/lib/ folder and have a look.
I have now moved the SaaS Manual website over to AWS and built everything from scratch. And it is working well, really well! I can develop locally and preview my changes, I can push new content to production, and infrastructure updates are encoded in code. I want to invite you to dive into the website repository on GitHub and have a look yourself. This is the next step in the journey of building a SaaS product completely from scratch.
In the next update, I will share some of the enhancements I will apply to the site over the coming days. I don't yet know what those will be, but there has been a lot of super interesting ideas and feedback in the Discord community, stay tuned 🎉.
Follow me on Twitter if you are curious about more regular updates on SaaS Manual. And as usual, please reach out to nikolai@saasmanual.com if you have any feedback, questions, or comments. I am especially curious about whether there are any topics you'd like me to cover regarding the initial launch of SaaS Manual.